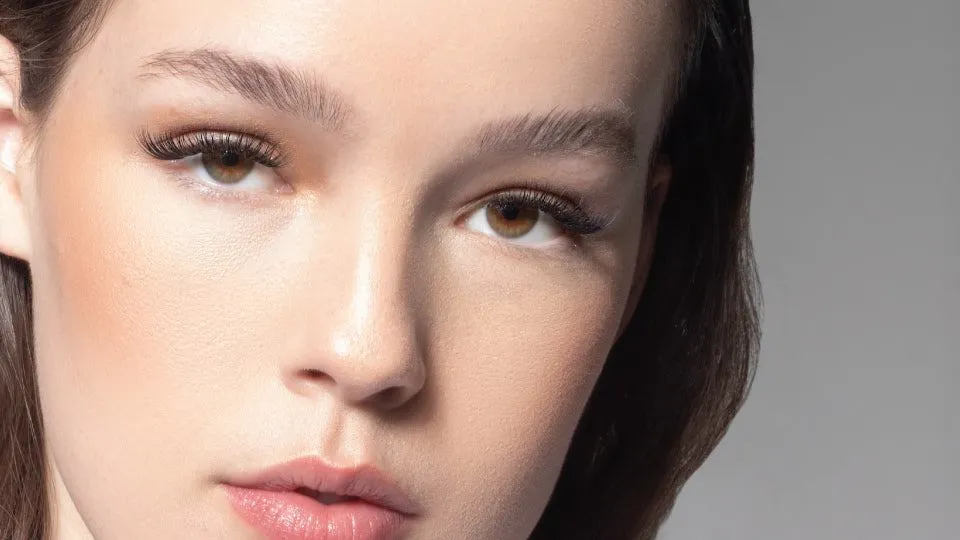
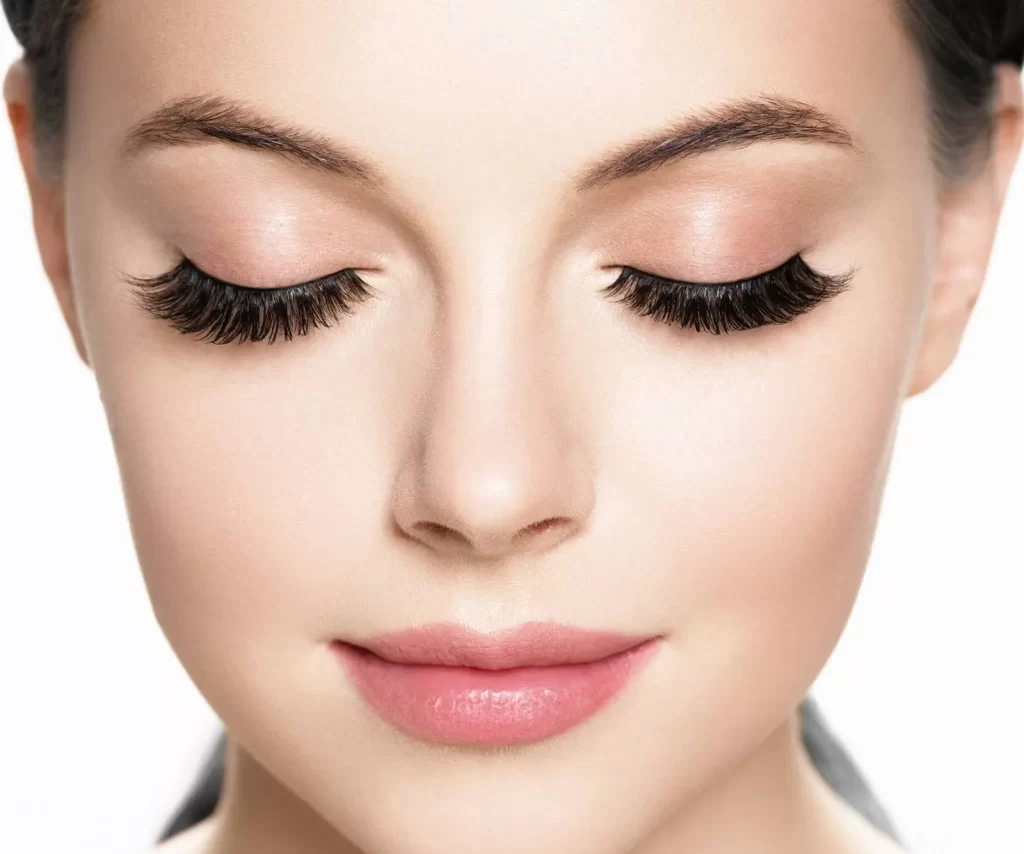
False lashes have long been a secret weapon in the beauty arsenal, instantly adding drama and allure to any eye look. While traditional false lashes are applied above your natural lashes, a lesser-known technique can create a unique and mesmerizing effect: using false-lashes under your lashes. This technique, often called “under-lash” or “bottom-lash” application, offers a subtle yet striking way to enhance your eyes. In this comprehensive guide, we’ll explore the step-by-step process of applying false lashes under your lashes, share tips and tricks for a flawless application, and address frequently asked questions to help you master this captivating beauty technique.
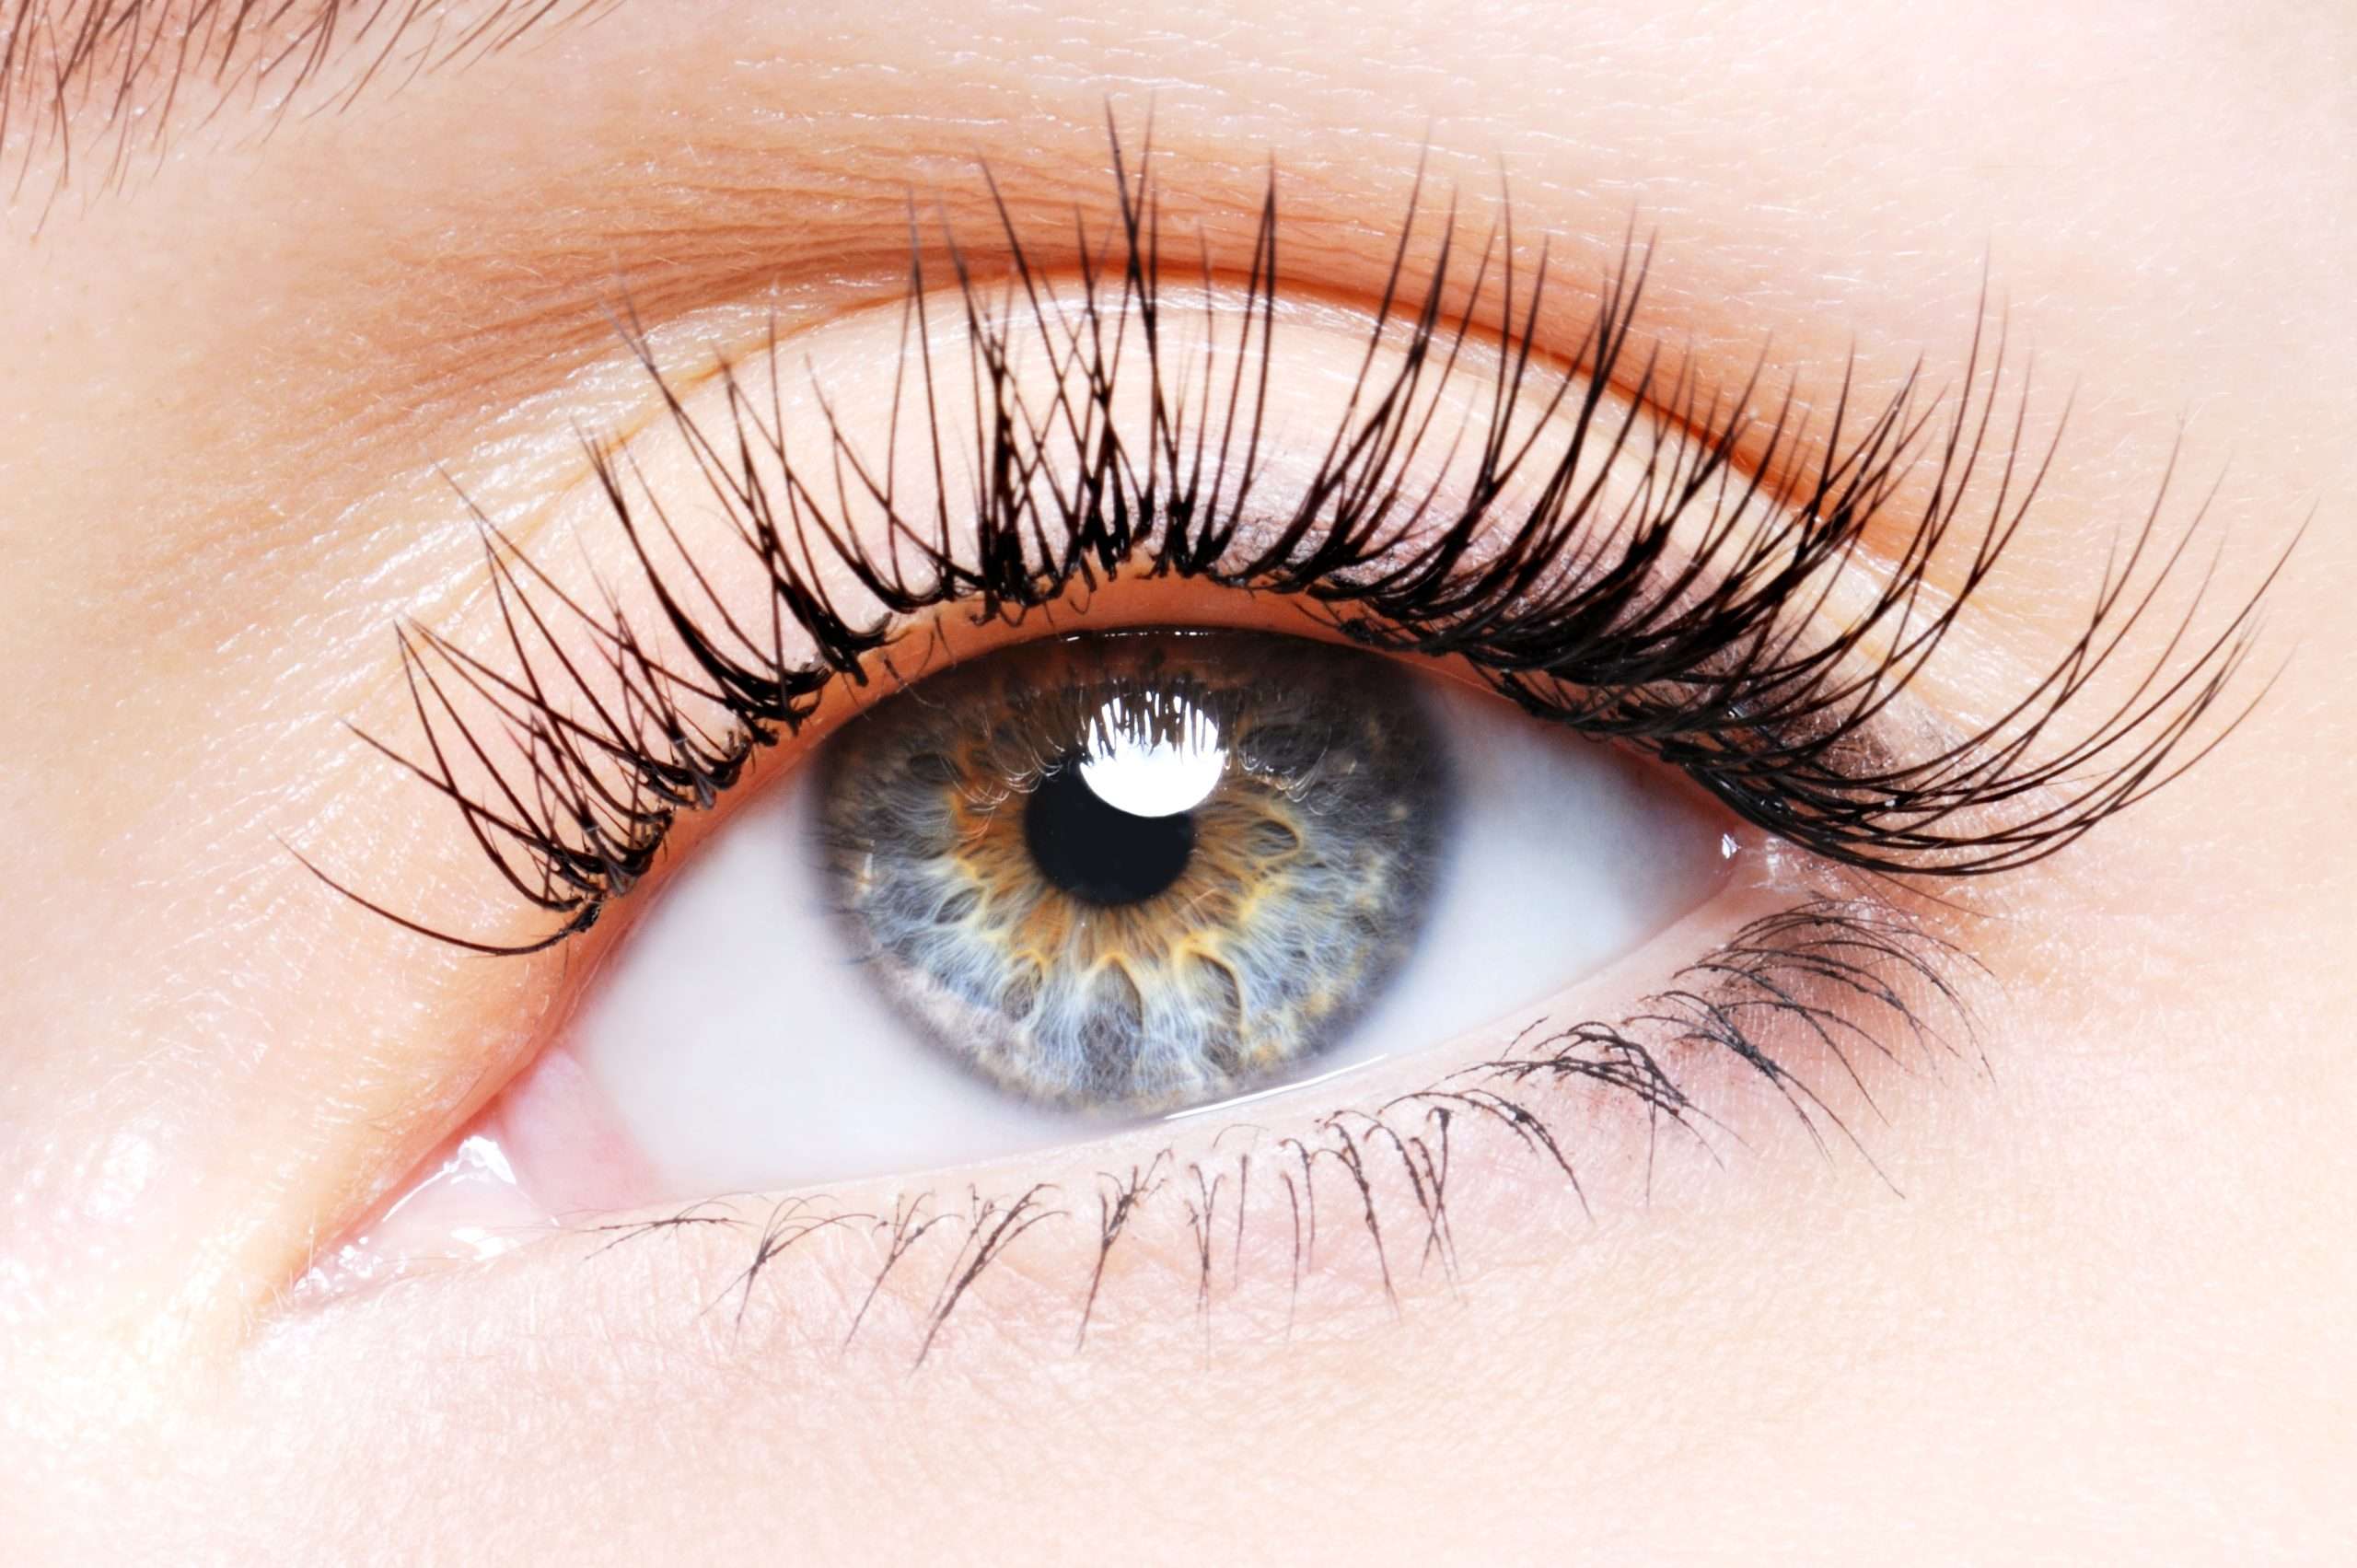
The Allure of Under-Lash Application
Before we delve into the application process, let’s explore why the under-lash application has garnered attention and is worth adding to your beauty repertoire.
- Natural-Looking Enhancement:
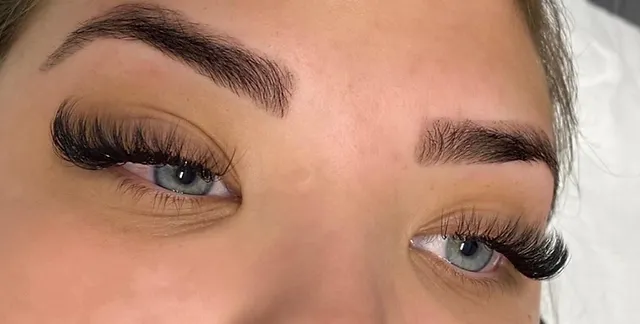
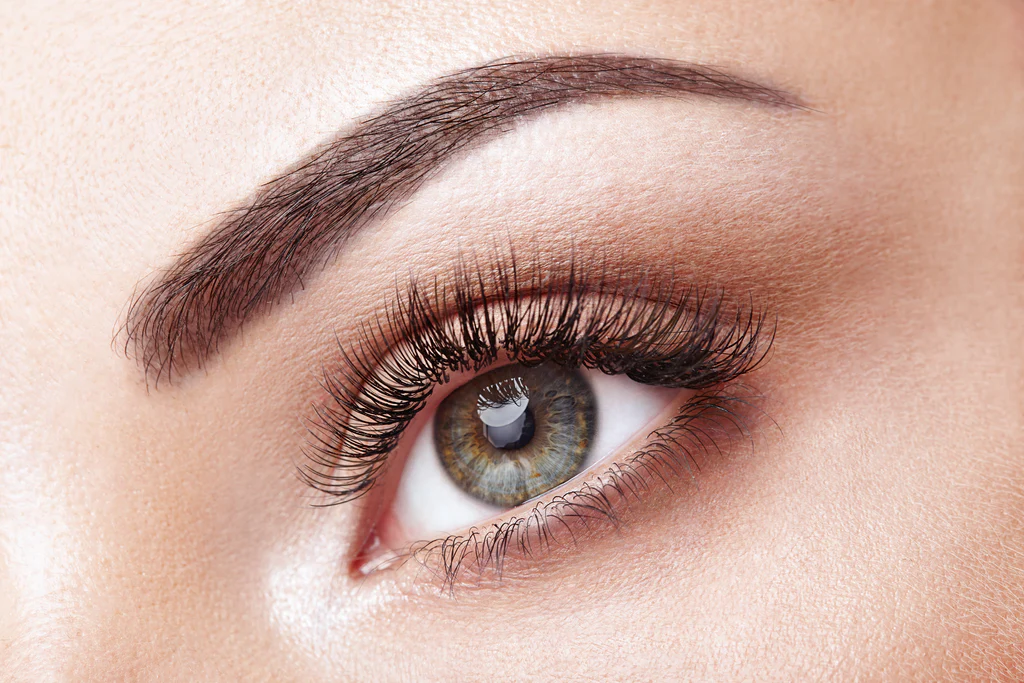
- Unlike traditional false lashes that sit on top of your natural lashes, the under-lash application provides a more natural look. It allows you to enhance your lashes without the apparent appearance of false lashes.
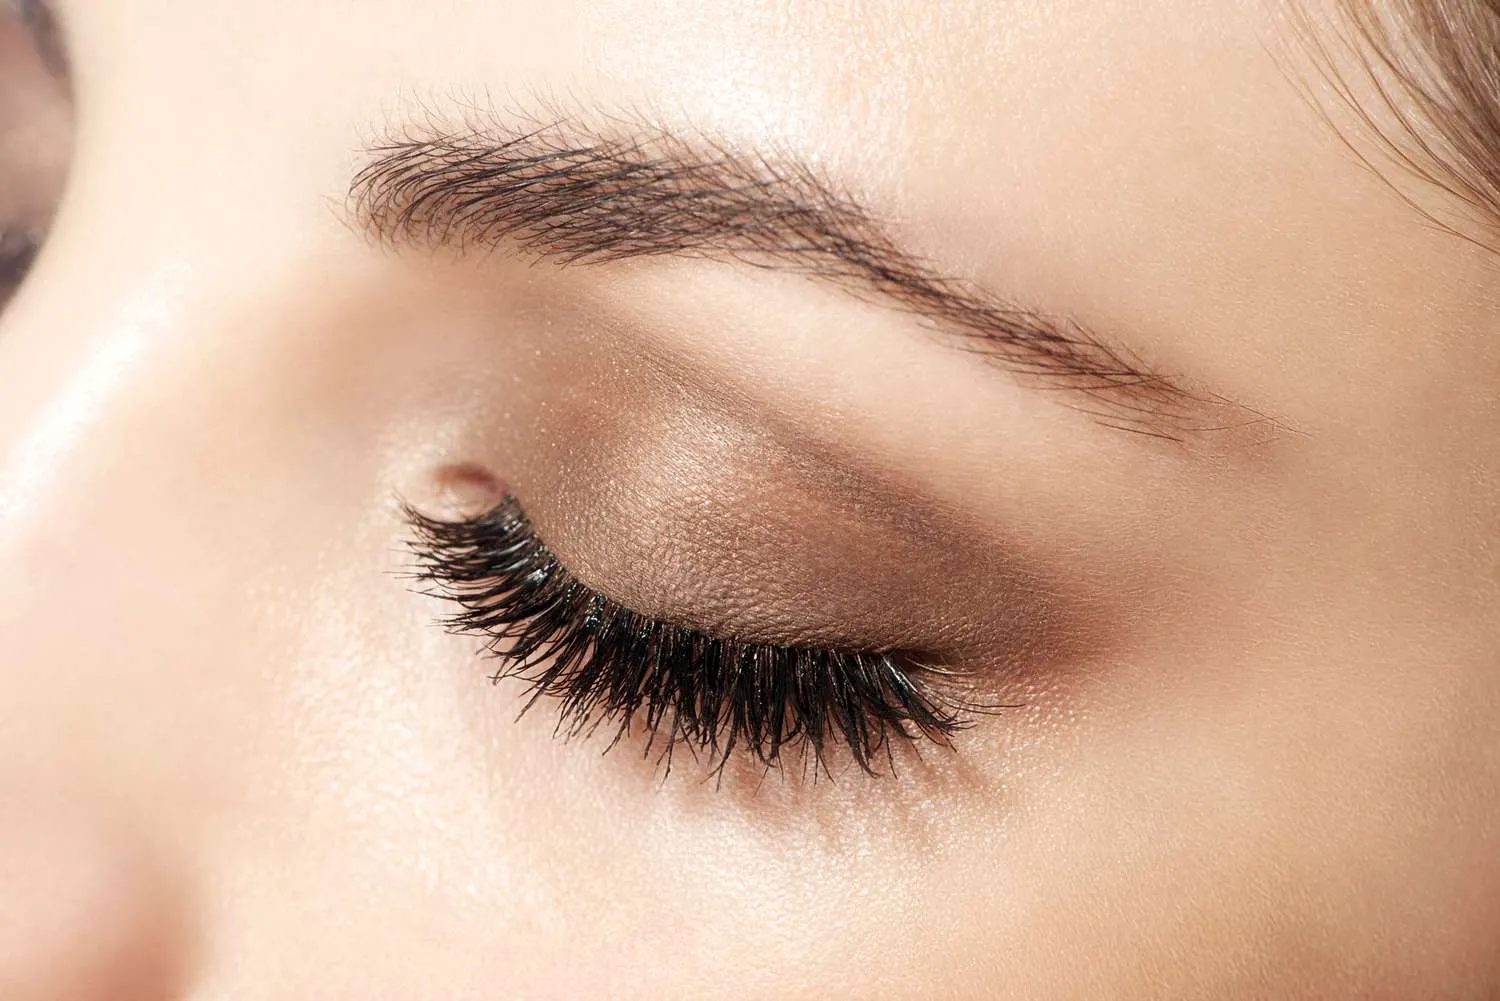
- Subtle Drama:
- The under-lash application adds a touch of drama to your eyes without overwhelming your makeup look. It’s perfect for occasions when you want your eyes to stand out without a heavy lash presence.
- Eye-Opening Effect:
- Placing false lashes under your lashes creates an eye-opening effect. Your natural lashes remain the focal point, while the added lashes provide subtle volume and length to the lower lash line.
Now, let’s dive into the step-by-step process of applying false lashes under your lashes.
Step-by-Step Guide: Applying False-Lashes Under Your Lashes
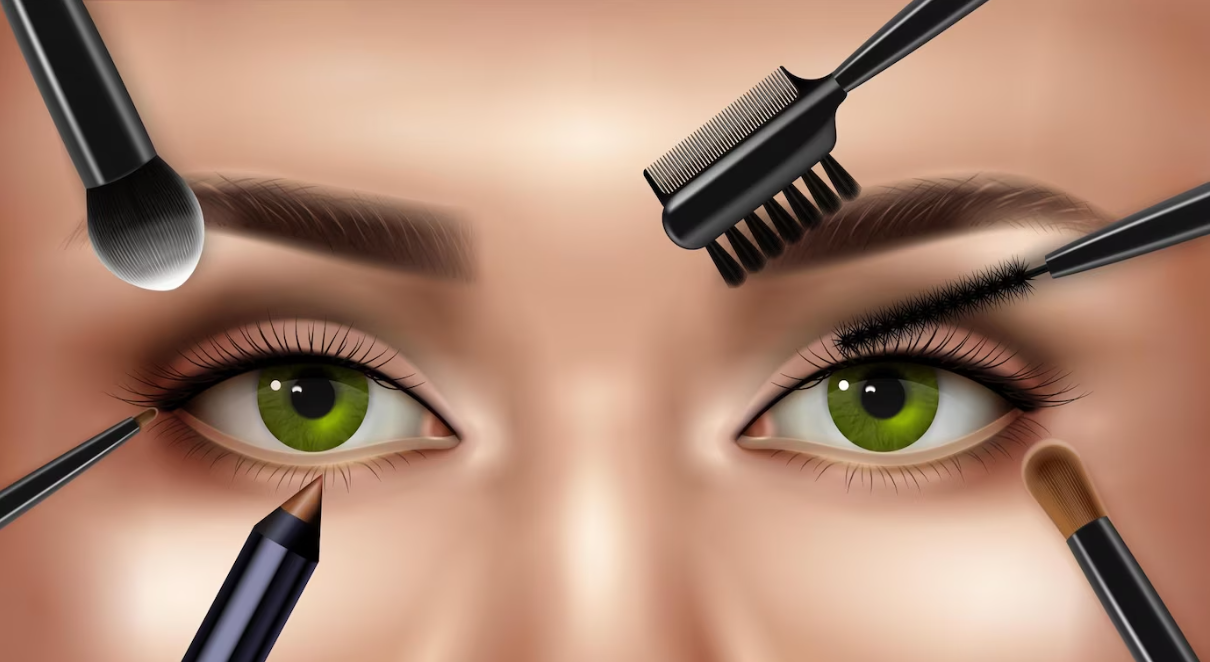
Materials You’ll Need:
False lashes are designed for under-lash application.
Eyelash adhesive (preferably transparent or dark-toned).
Tweezers or lash applicators
A mirror.
Makeup remover (for cleanup, if necessary).
Q-tips or cotton swabs.
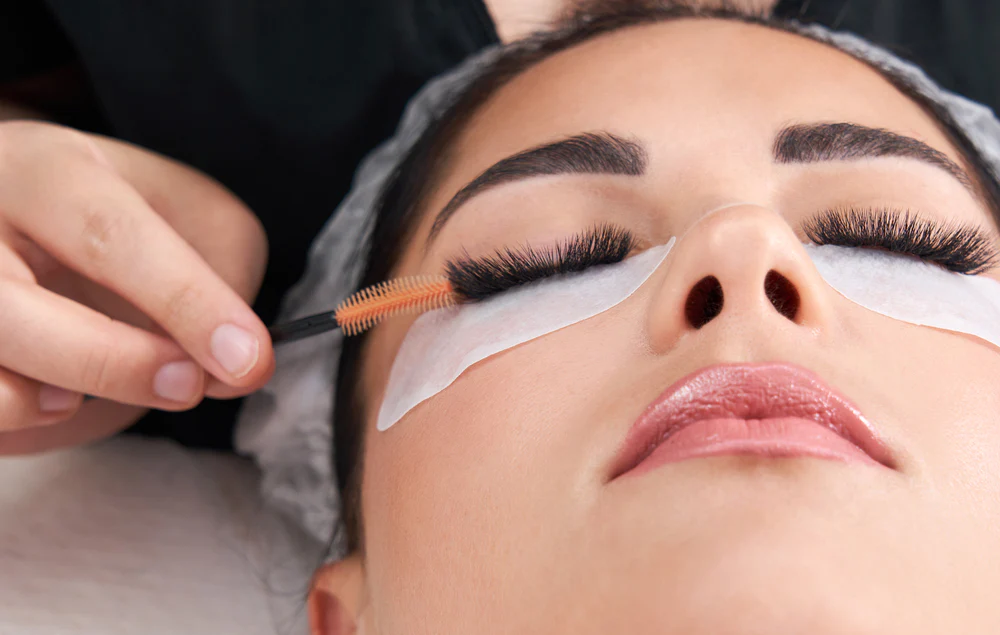
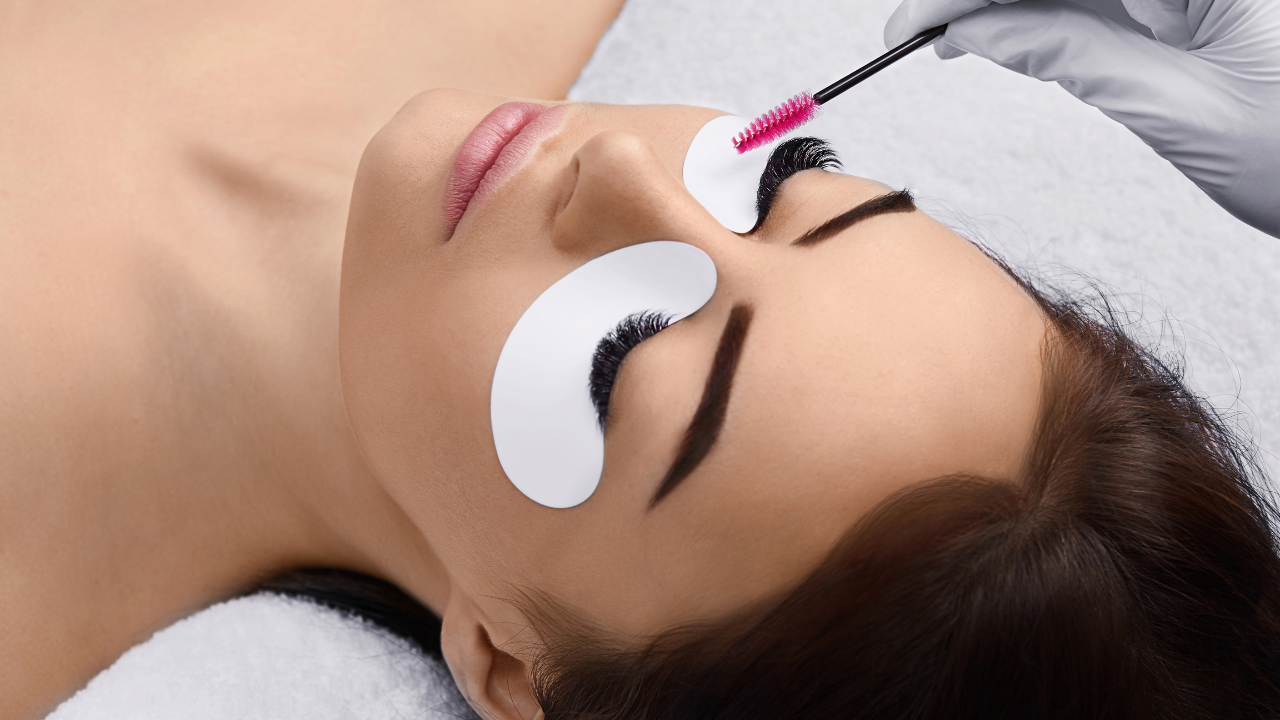
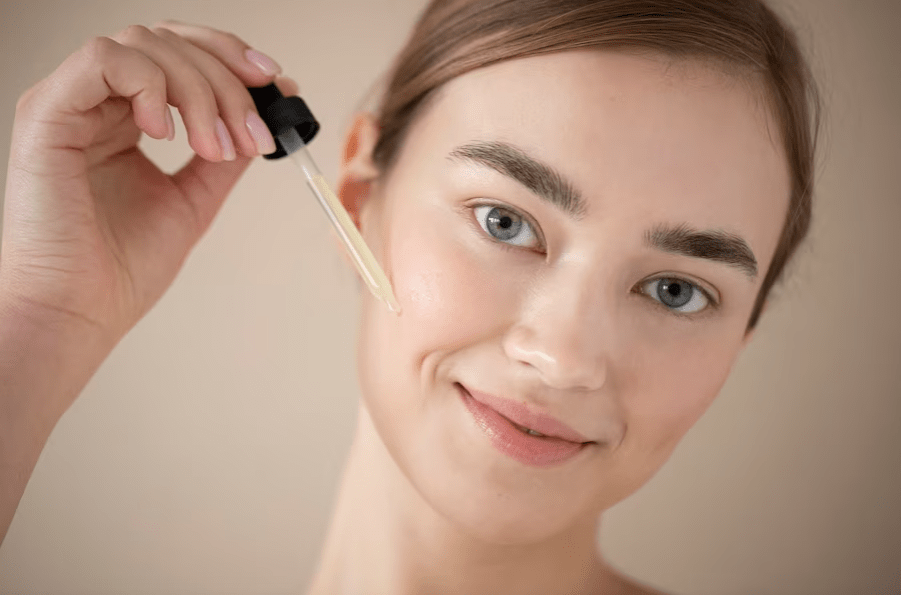
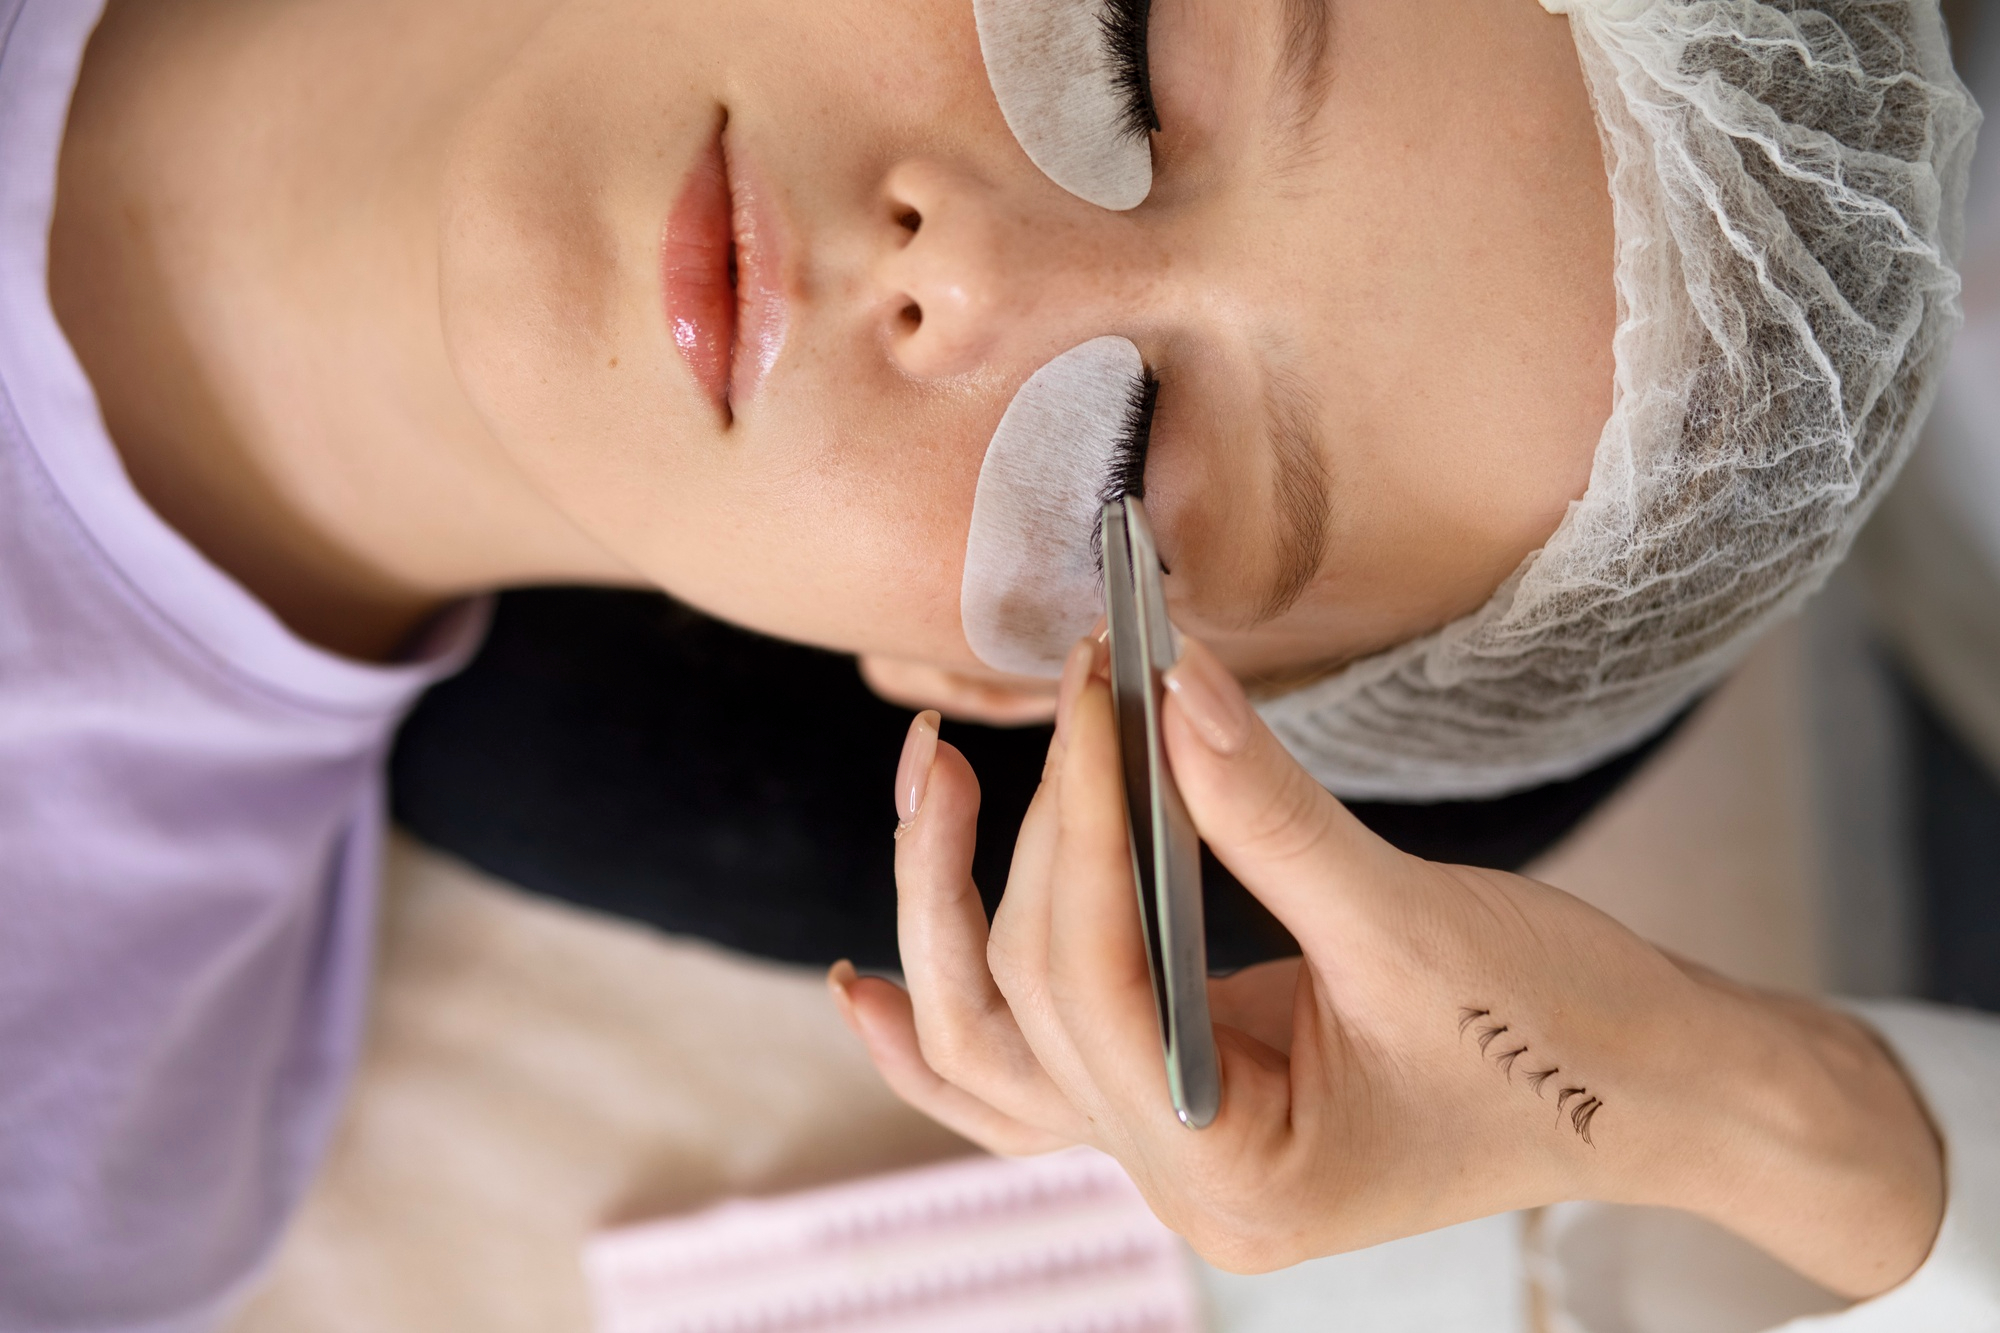
Step 1: Preparation
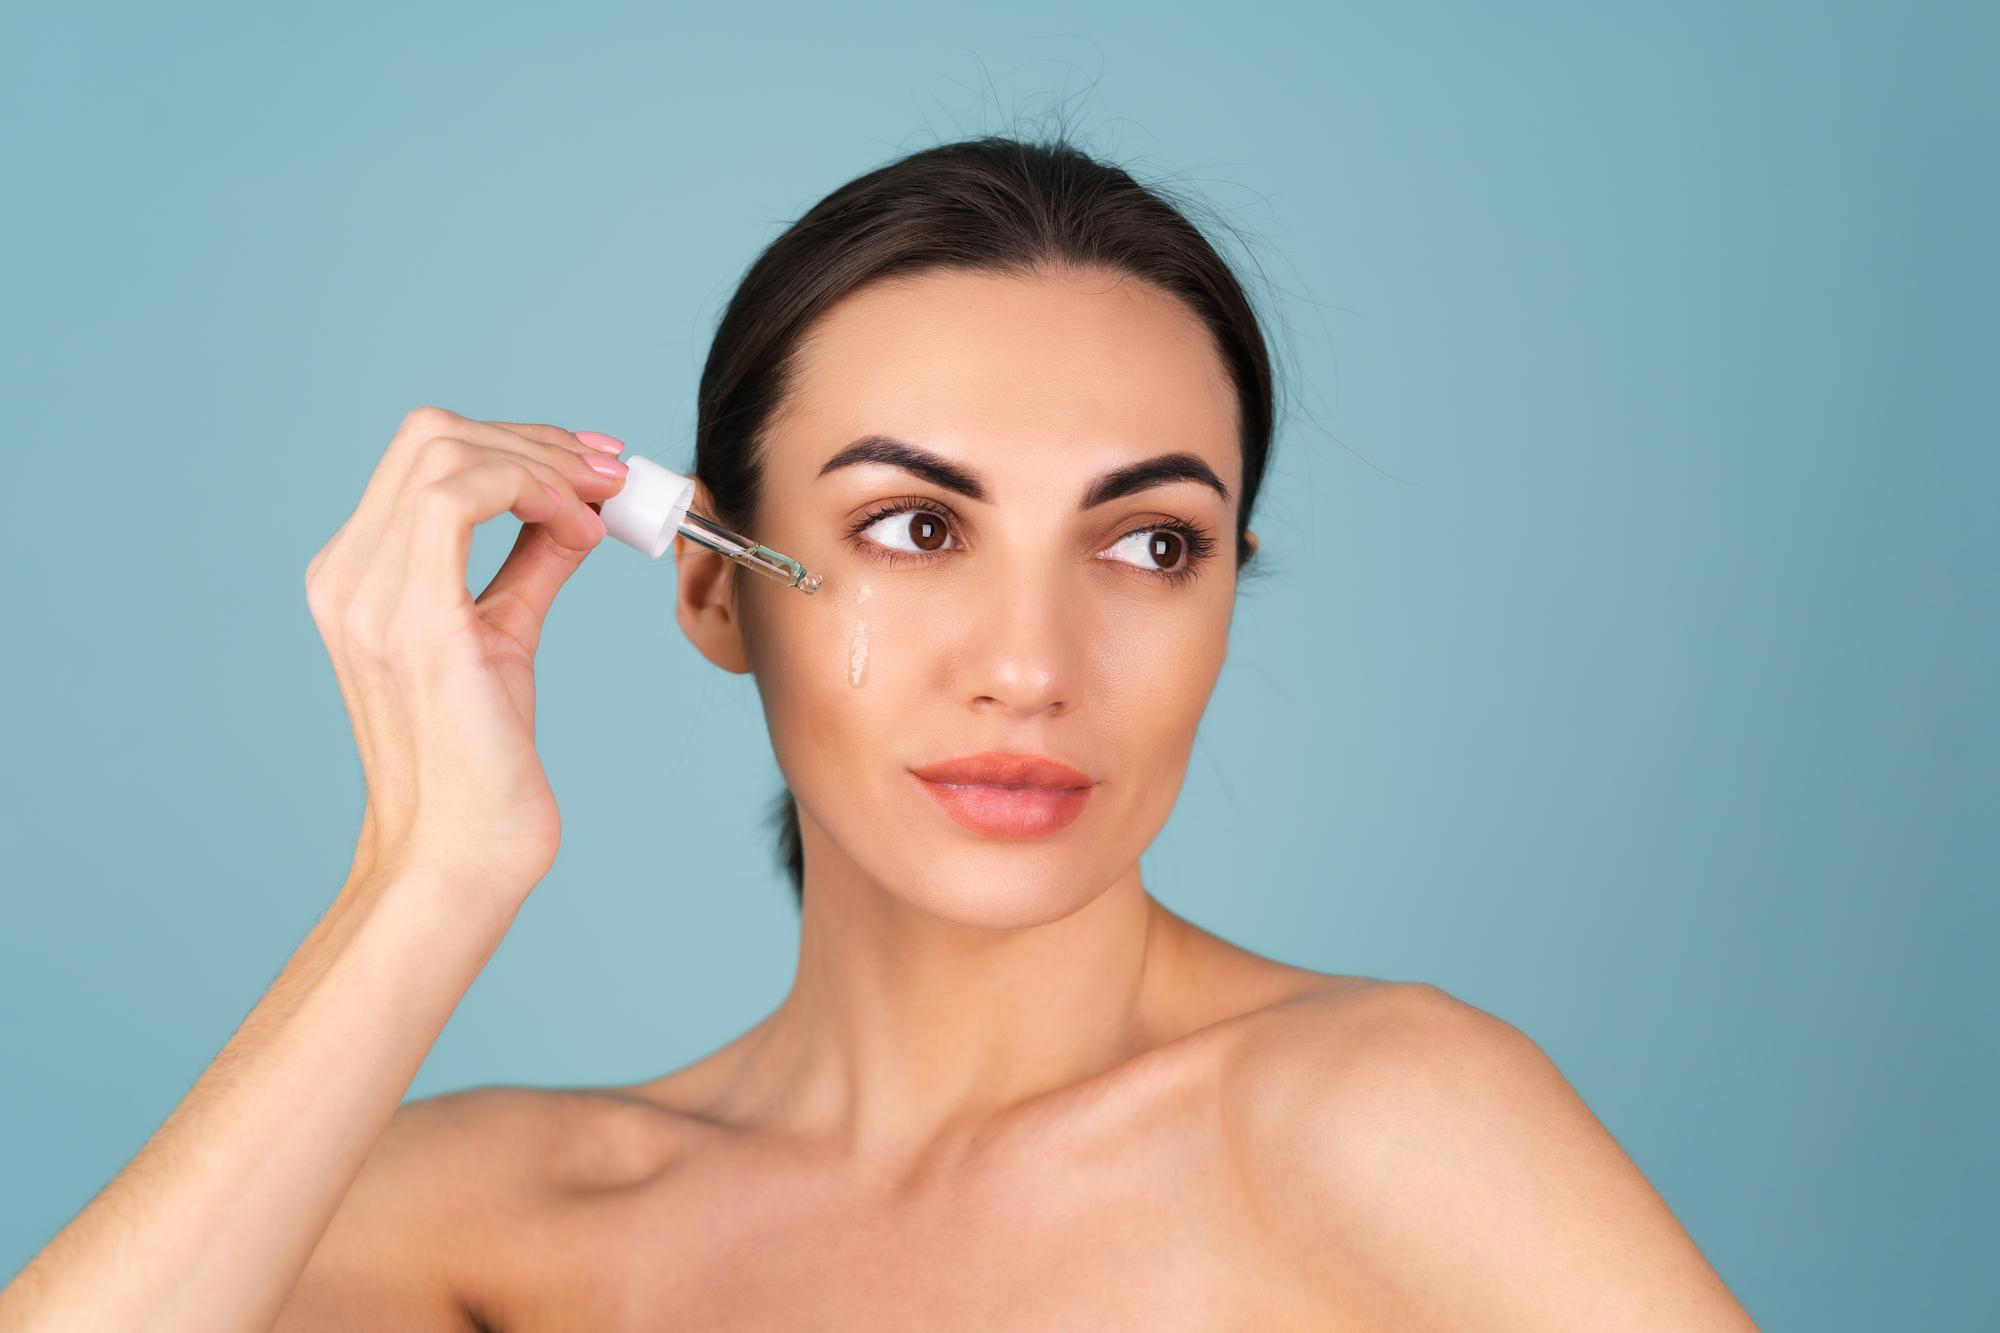
Start with a clean face and makeup-free lashes. If you’ve applied mascara, remove it gently using a makeup remover to ensure a smooth surface for application.
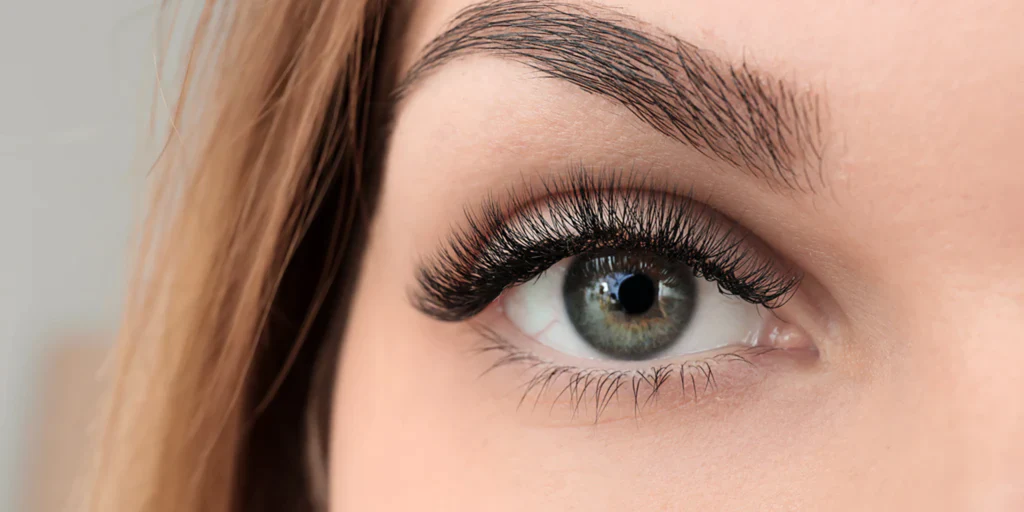
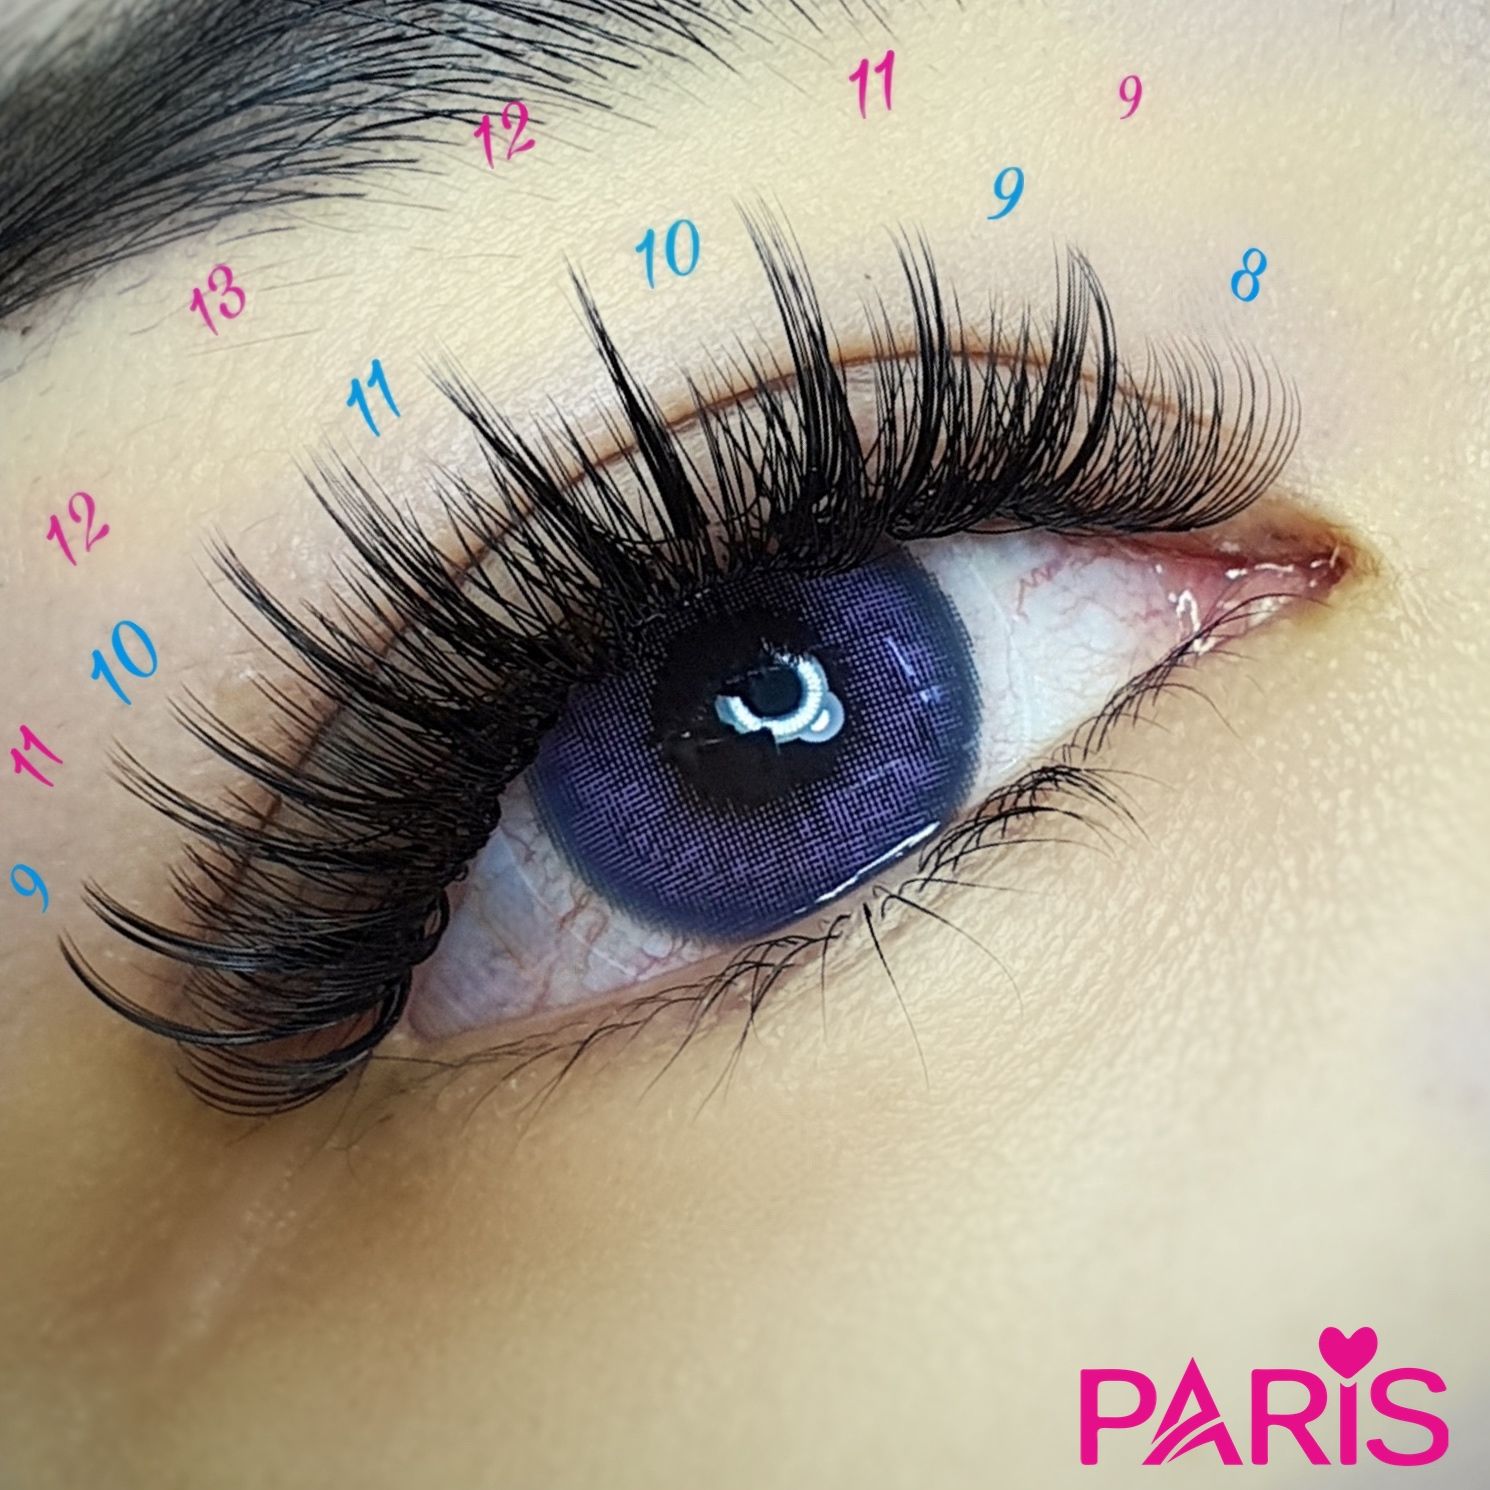
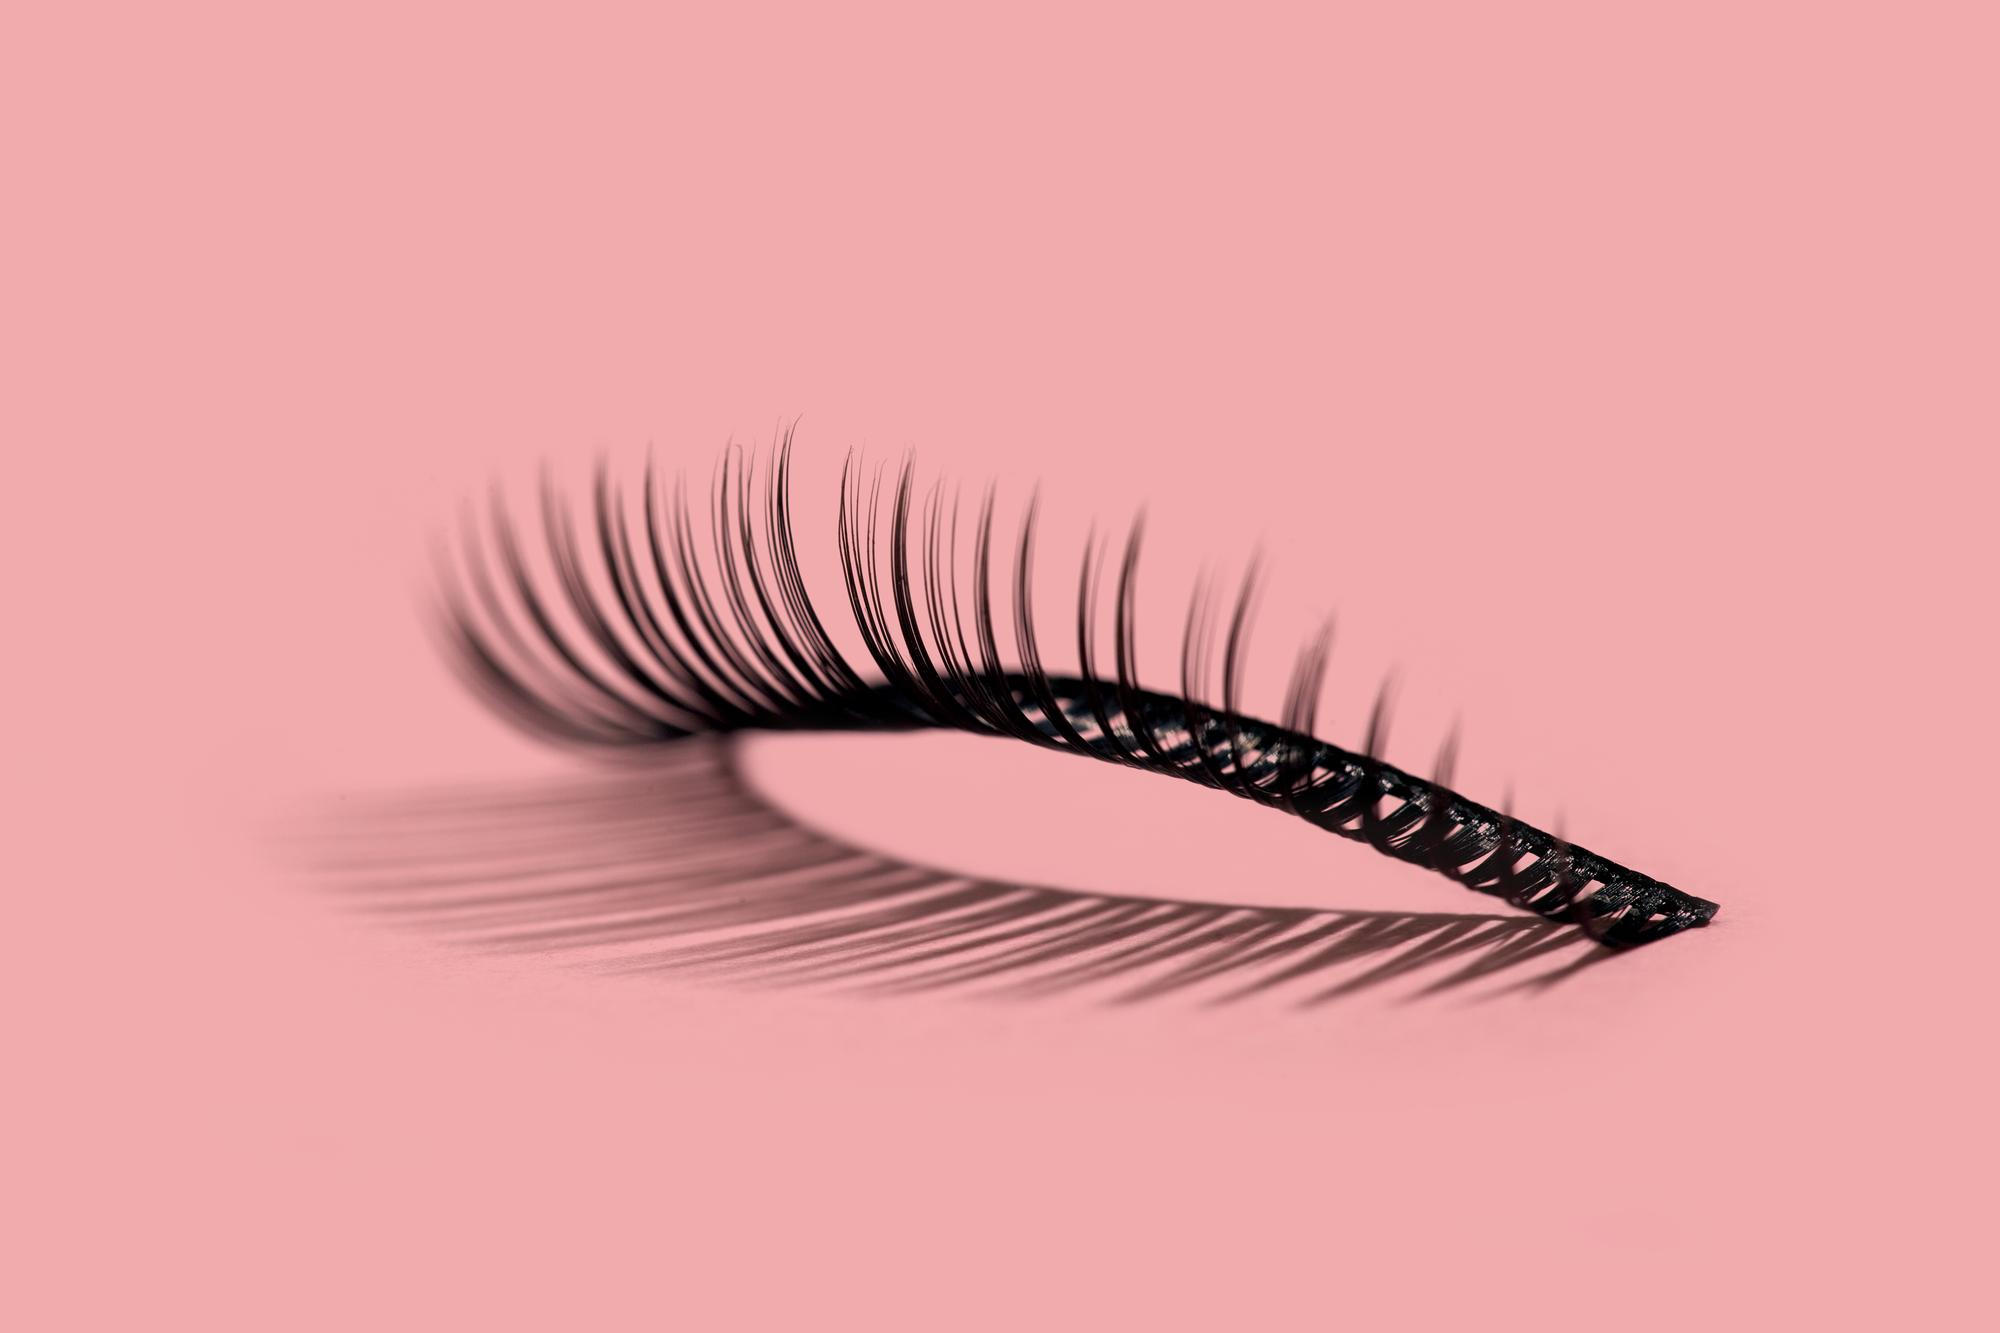
Step 2: Select the Right Lashes
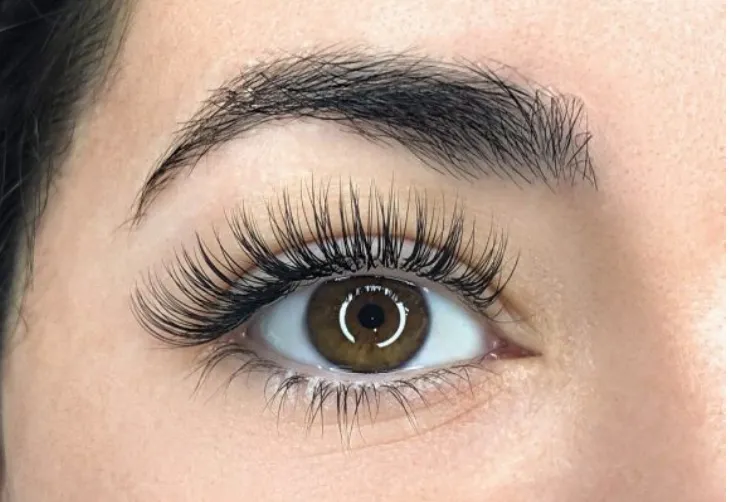
Choose false lashes specifically designed for under-lash application. These lashes are typically shorter, more delicate, and have a curved shape to fit comfortably under your natural lashes. You can find them at beauty supply stores or online.
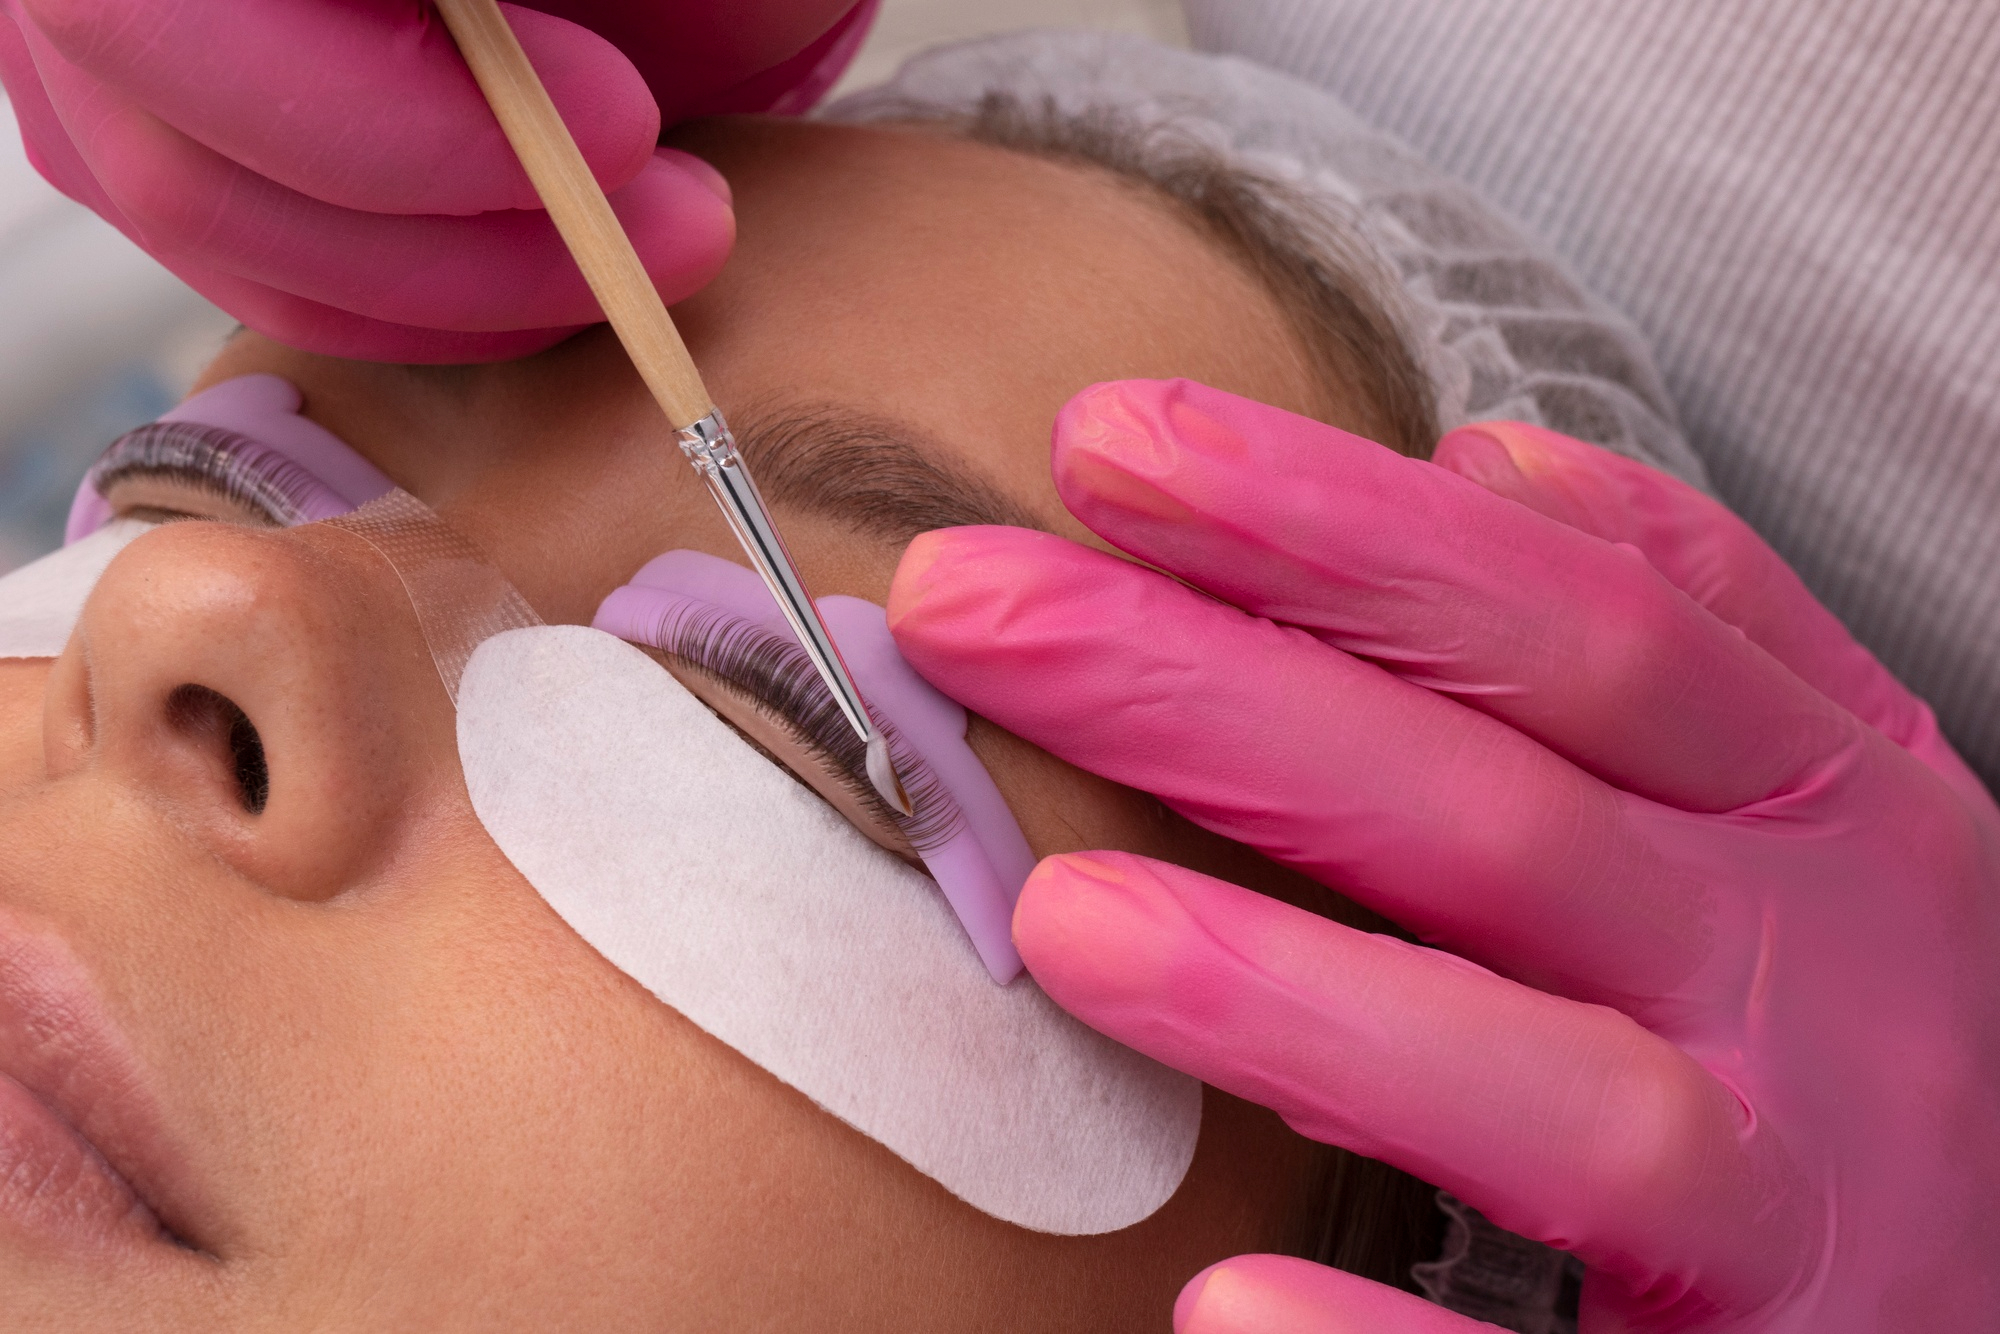
Step 3: Apply Adhesive
Squeeze a small amount of eyelash adhesive onto a clean surface, such as the back of your hand or a disposable surface. Allow the adhesive to become slightly tacky for about 20–30 seconds.
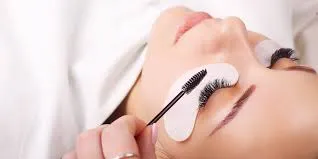
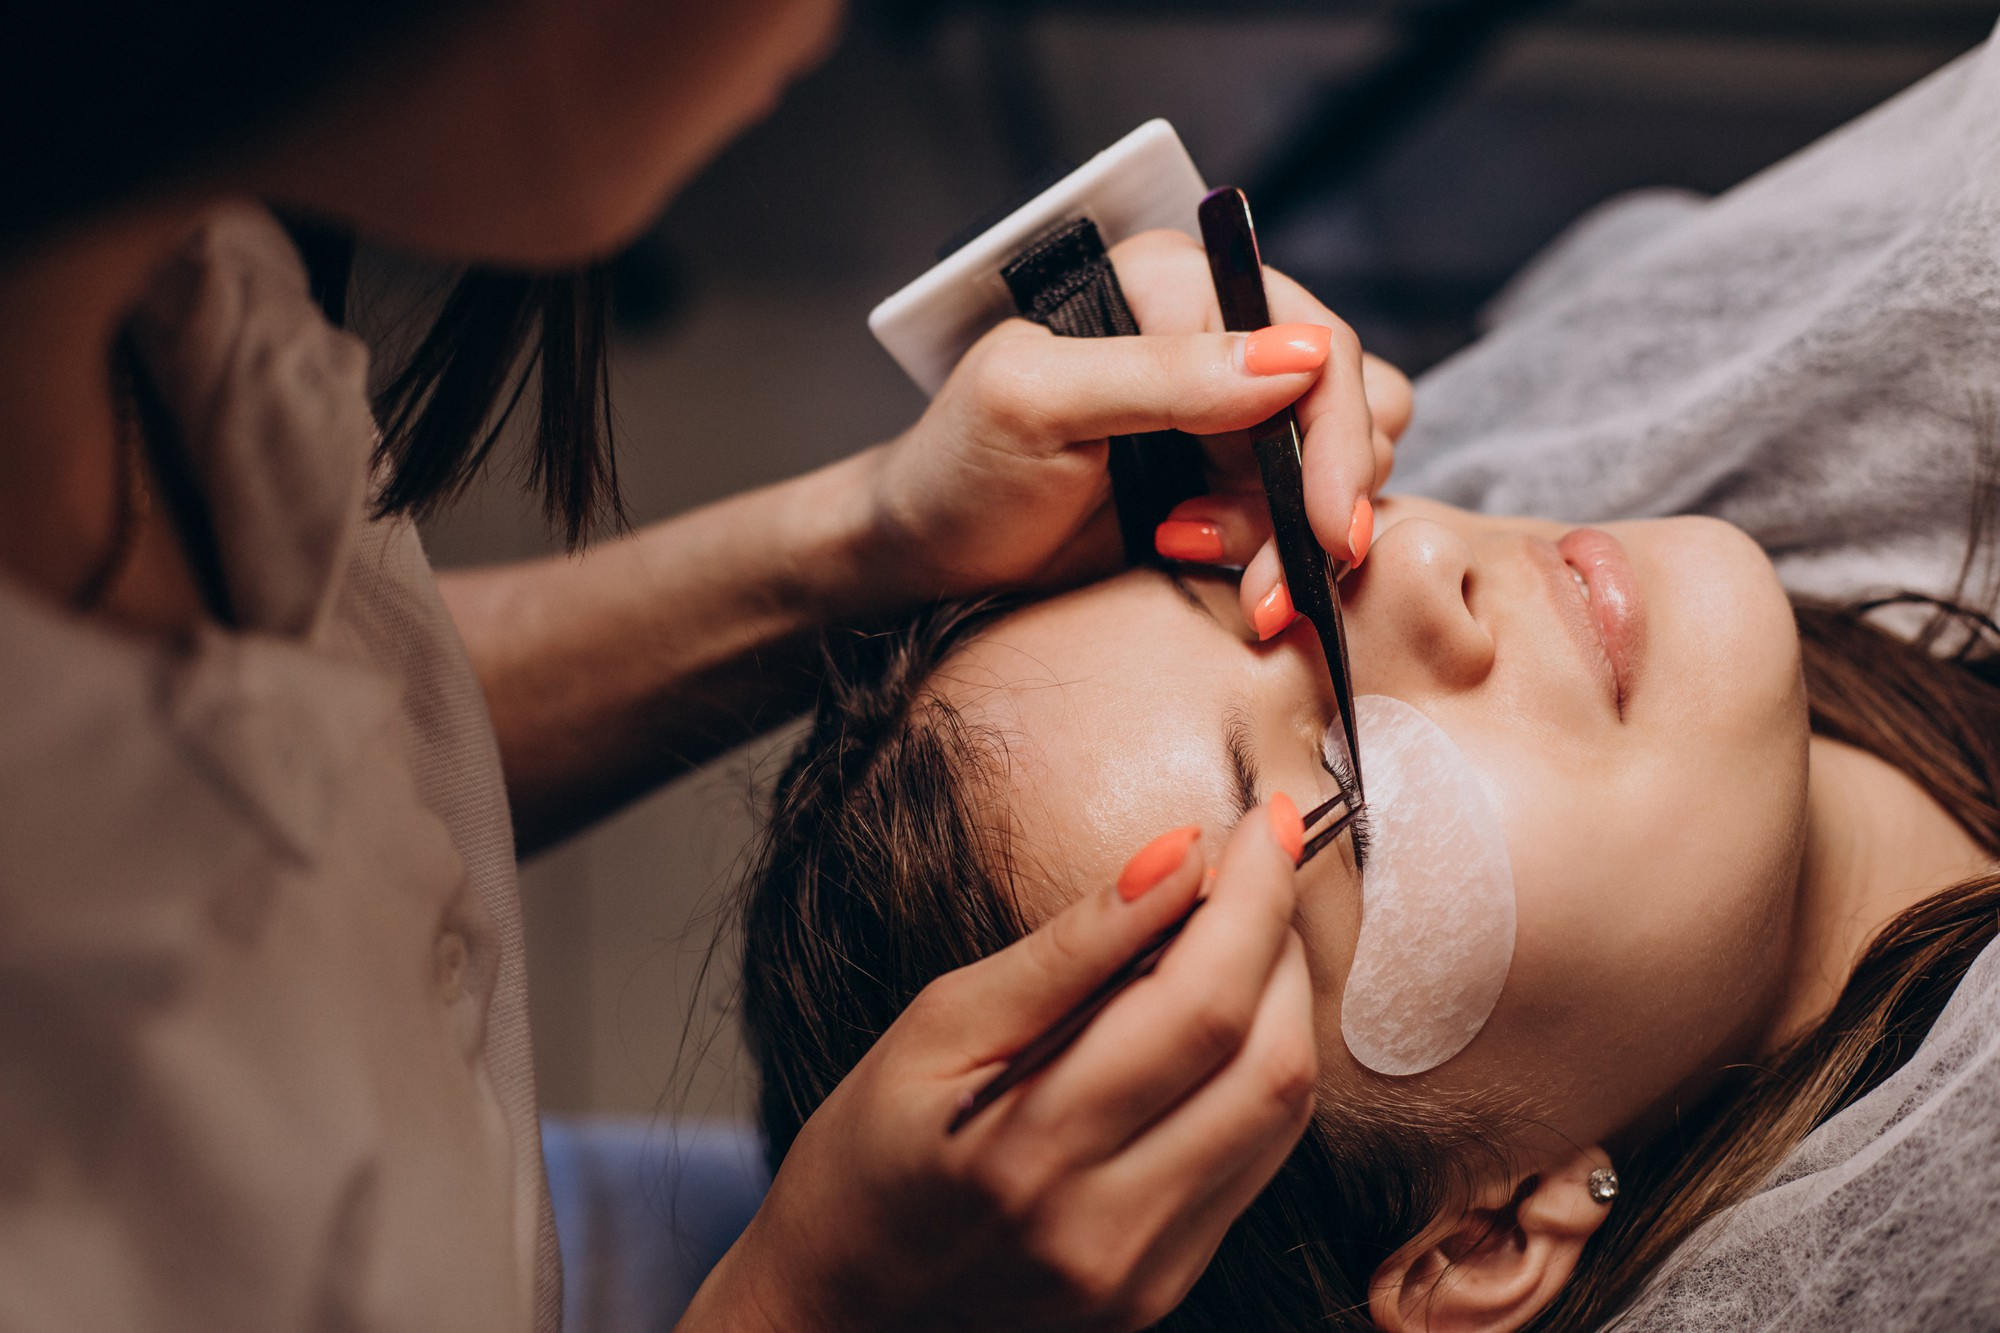
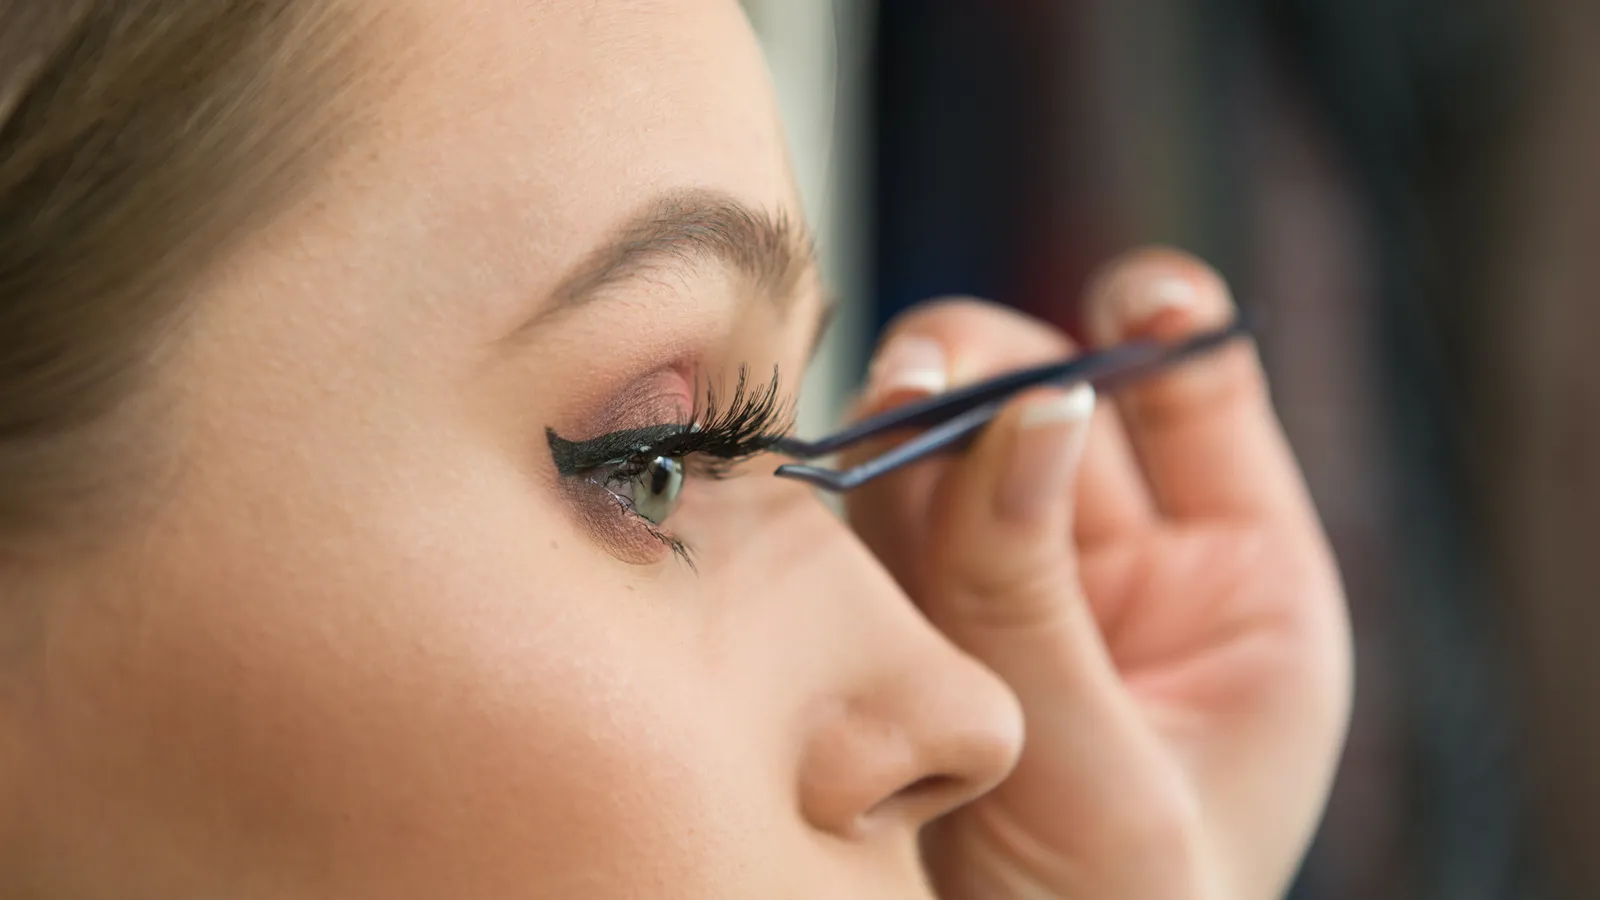
Step 4: Using Tweezers or an Applicator
Pick up one of the under-lash false lashes with tweezers or a lash applicator. Hold it near the base, where the lashes are attached.
Step 5: Positioning
Gently lift your lower eyelid with your free hand to expose your natural lashes. Look down into the mirror to ensure a clear view of your lower lash line.
Step 6: Placement
Carefully position the false-lash under your natural lashes, close to the lash line, starting from the outer corner of your eye and moving inward. Be sure to align the inner edge of the false lash with your inner corner.
Step 7: Secure
Gently press the false lash against your skin to secure it in place. Use the tweezers or applicator to adjust the placement as needed.
Step 8: Repeat for the Other Eye
Repeat the same process for your other eye, ensuring that the lashes are symmetrical.
Step 9: Final Adjustments
Once both lashes are in place, use your fingers to gently press your natural lashes and the false-lashes together to blend them seamlessly. This step helps create a more natural look.
Step 10: Allow to Dry
Allow the adhesive to dry completely. It should become transparent and tack-free. Avoid blinking or moving your eyes excessively during this time.
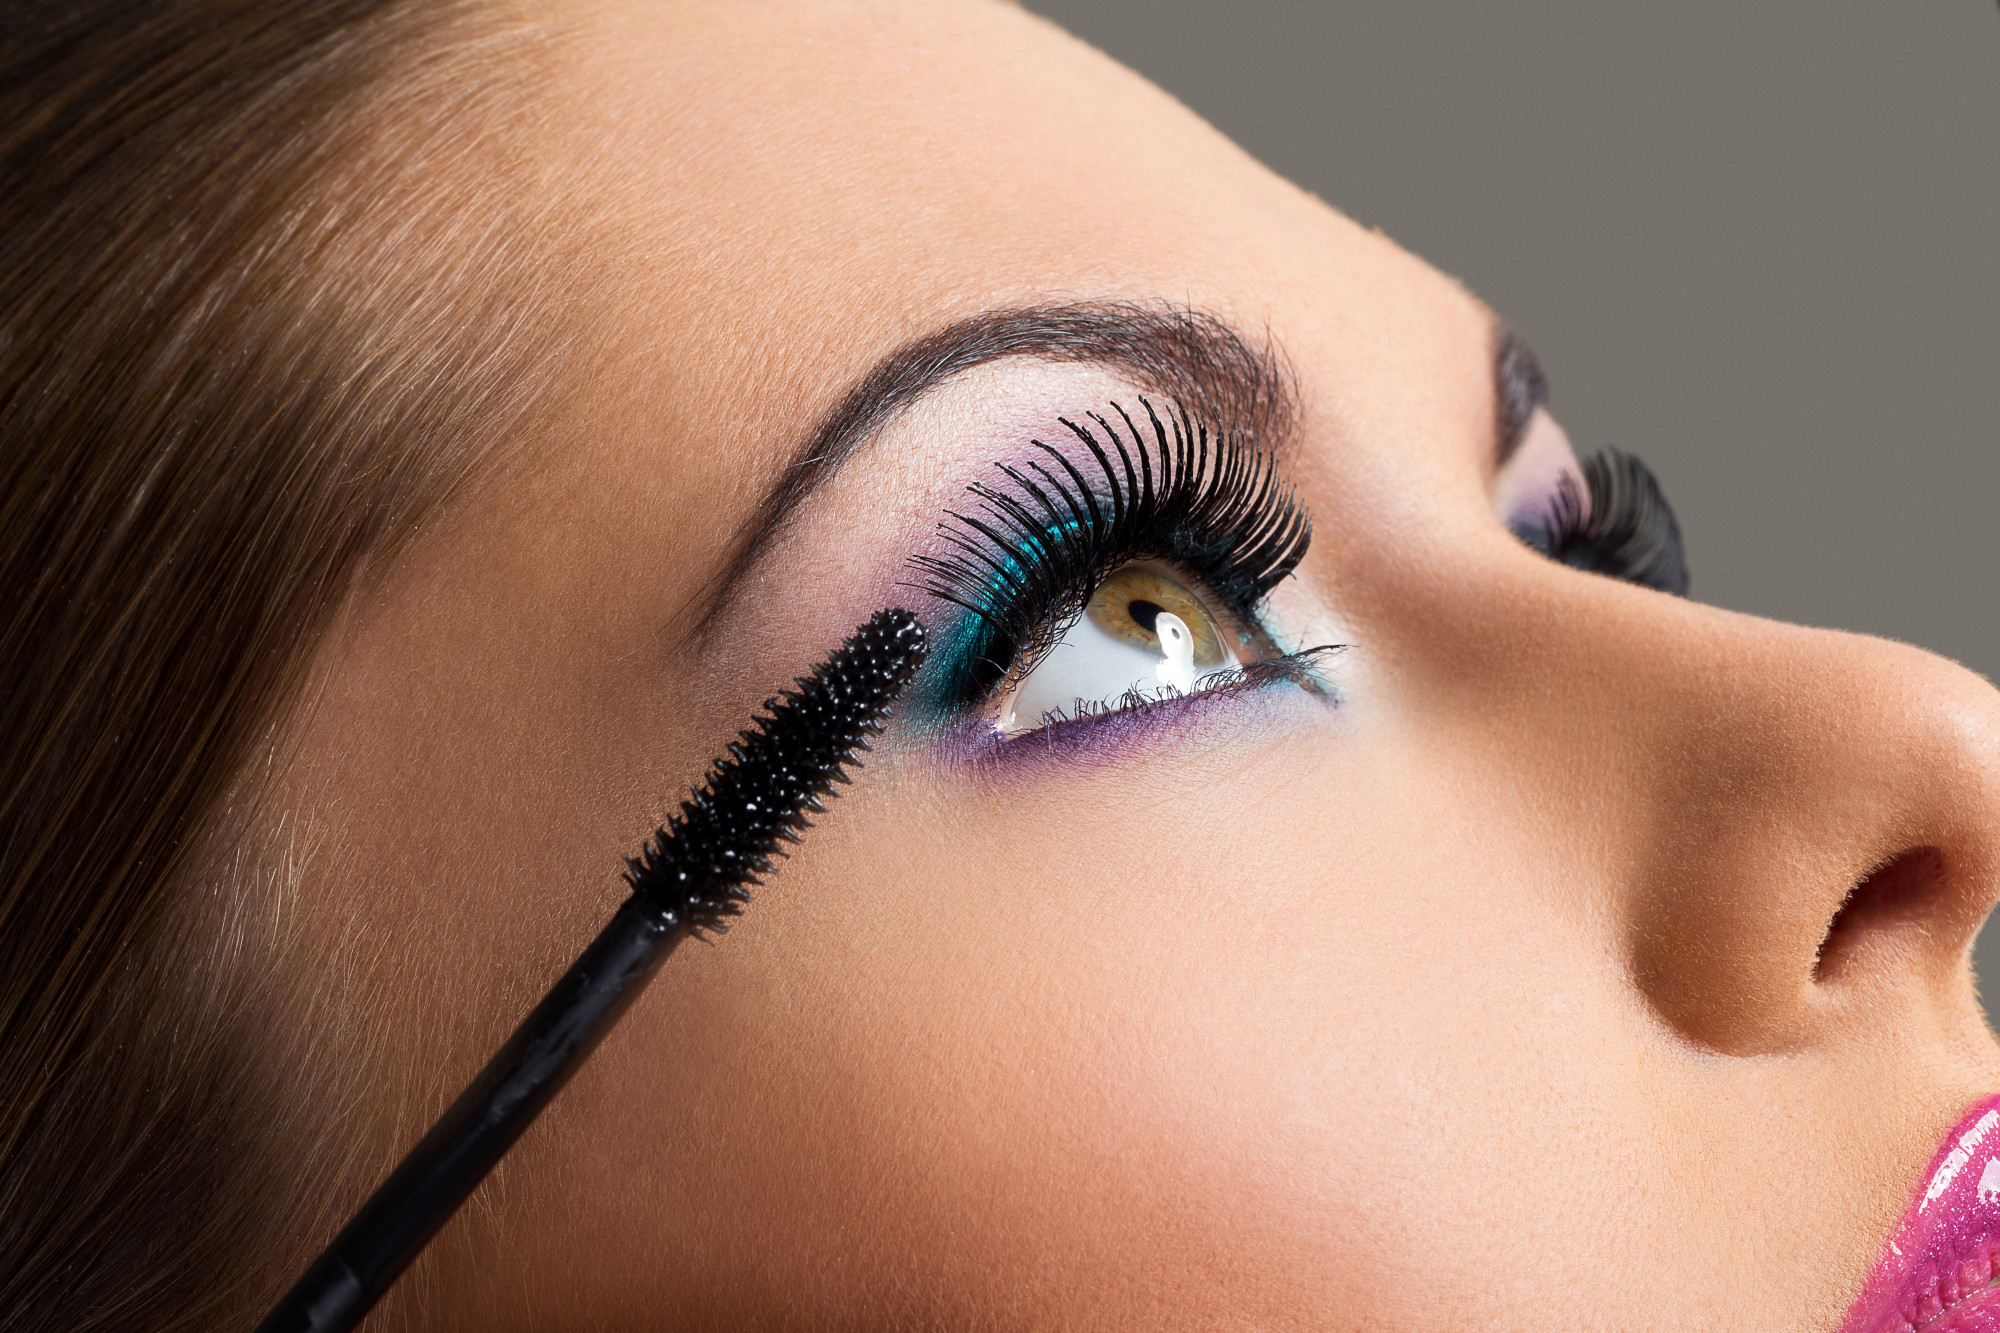
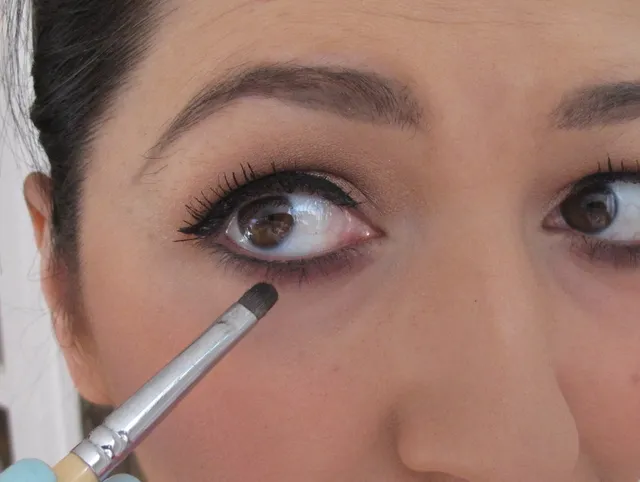
Step 11: Optional Mascara
If desired, apply a light coat of mascara to your lower lashes, blending them with the false-lashes for a cohesive look. However, using mascara sparingly is best to maintain the natural effect of under-lash application.
Tips and Tricks for a Flawless Application:
- Practice makes perfect:
- If you’re new to the under-lash application, practice with a few spare pairs of false-lashes before attempting a more formal look.
- Use a good-quality adhesive:
- Invest in a high-quality eyelash adhesive that provides a strong and long-lasting bond. Clear or dark-toned adhesives are popular choices.
- Start with clean lashes:
- Ensure your natural lashes are clean and free of any mascara or residue before applying the false lashes.
- Trim if necessary:
- Depending on your eye shape, you may need to trim the false lashes for a perfect fit. Always trim from the outer edge to maintain the desired shape.
- Keep a steady hand:
- Precision is key when applying under-lash false lashes. Steady your hand and take your time to achieve the desired look.
Conclusion
Mastering the art of applying false lashes under your lashes opens up a world of possibilities for enhancing your eyes with subtlety and grace. This unique technique lets you achieve a natural-looking, eye-opening effect that is perfect for various occasions. With the right materials, practice, and patience, you can add this captivating beauty skill to your repertoire, transforming your eyes into mesmerizing focal points of your overall look. Whether you’re a makeup enthusiast or just exploring new beauty techniques, the under-lash application offers a delightful twist on the classic false lash experience.